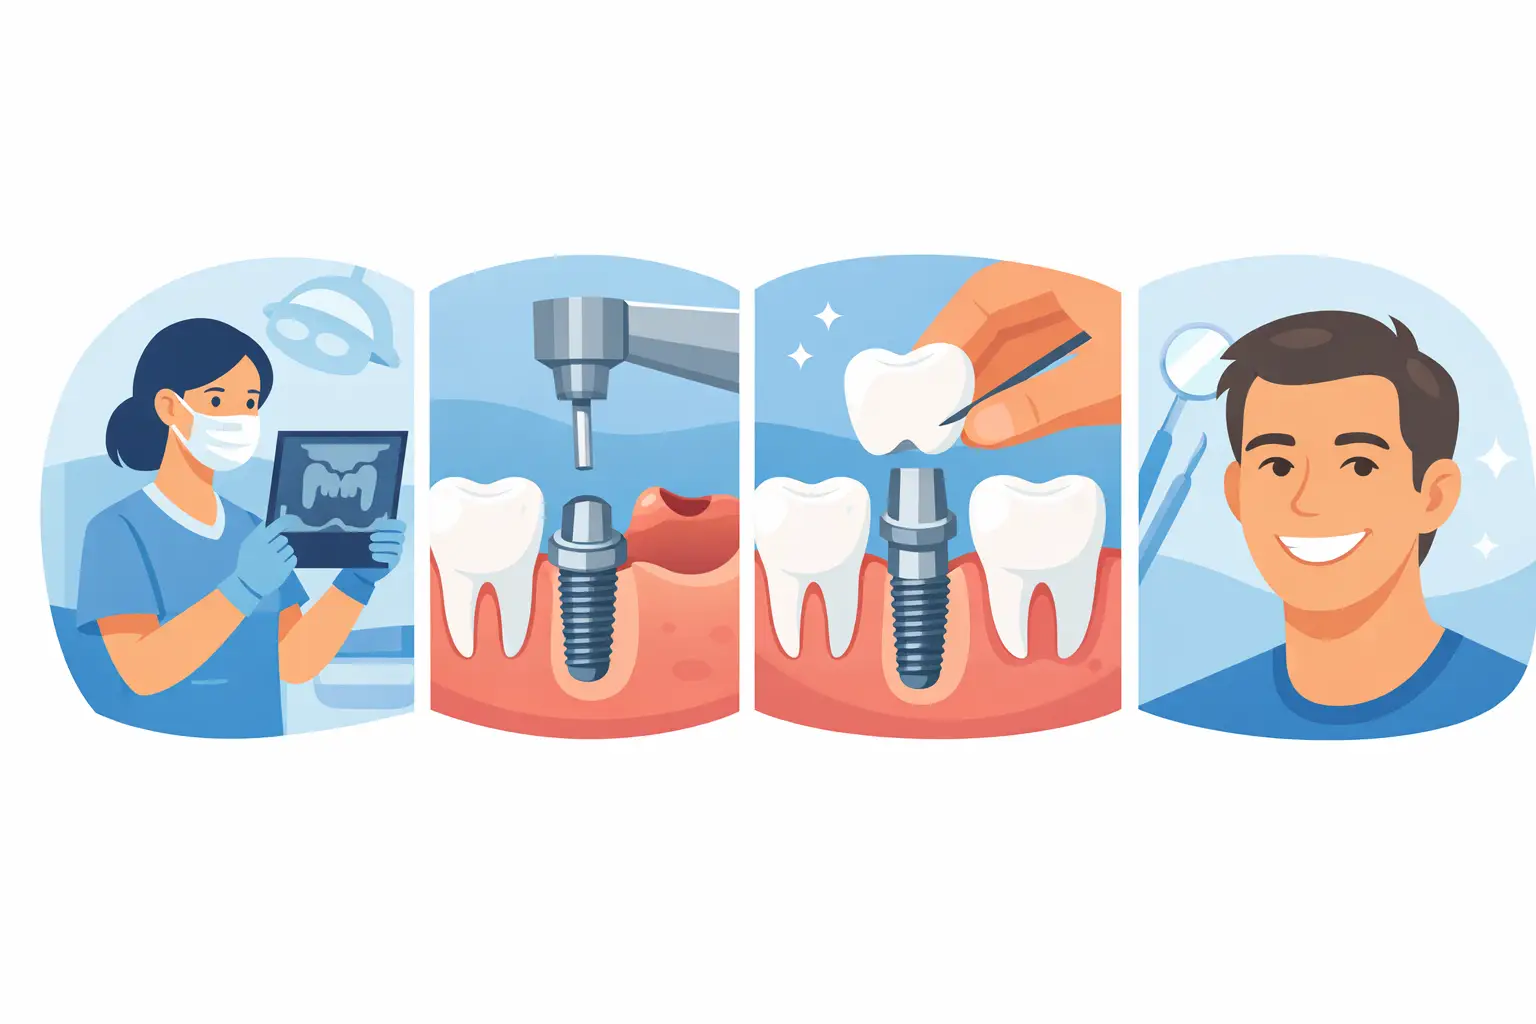
A missing tooth can affect much more than a smile. It can change how you chew, make you self-conscious in photos, and allow nearby teeth to shift over time. Understanding the dental implant procedure step by step can make treatment feel far more manageable. While every plan is individualized, implants generally follow a clear sequence: evaluate, prepare, place, heal, restore, and maintain.
At Seattle Oral Care, implant care is coordinated among the professionals needed for your case, which may include a prosthodontist, oral surgeon, periodontist, and general dentist. That team approach is especially helpful when bone loss, gum disease, multiple missing teeth, or a full-mouth restoration is involved.
Step 1: Begin With a Thorough Implant Consultation
The first visit is not simply about deciding whether you want an implant. It is about determining whether an implant is the right long-term solution for your mouth, health, goals, and budget.
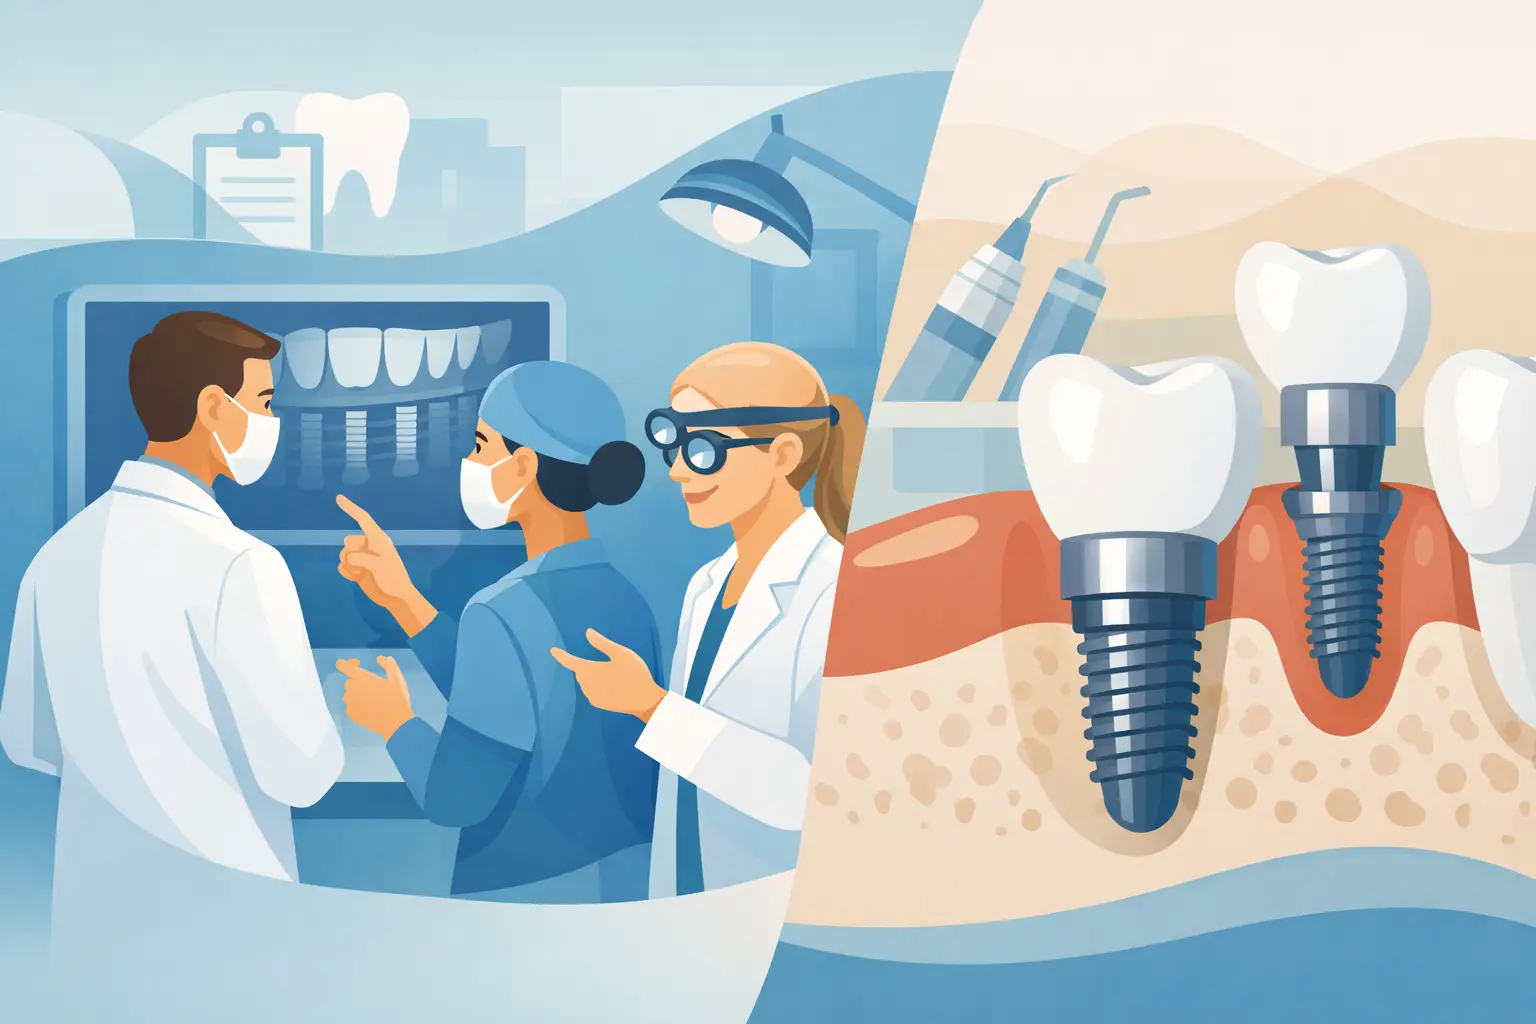
Your dentist will discuss the tooth you are replacing, your medical and dental history, medications, bite, gum health, and any concerns about treatment. X-rays and, when appropriate, 3D imaging help the team see the bone, tooth roots, sinuses, and nerves beneath the surface. These details guide safe, precise implant placement.
An implant has three main parts: the implant post placed in the jawbone, an abutment that connects the post to the restoration, and a custom crown, bridge, or denture that becomes the visible tooth or teeth. Your consultation should explain which restoration you need and why.
Step 2: Treat Gum Disease or Prepare the Jawbone, if Needed
Healthy gums and adequate bone create the foundation for a successful implant. If active gum disease is present, it should be treated before implant surgery. Placing an implant in an unhealthy environment raises the risk of infection and can affect long-term stability.
Some patients have enough bone for placement right away. Others may need a bone graft after a tooth has been missing for a while, following an extraction, or because of bone loss from periodontal disease. A graft uses bone material to support the area where the implant will sit. Depending on the type and size of graft, healing may take several months before implant placement.
This can feel like a delay, but it is often a protective step. Building a strong foundation can improve both function and appearance, particularly in the front of the mouth where gum and bone contours matter.
Step 3: Remove the Tooth When It Cannot Be Saved
If the damaged tooth is still in place, it may need to be removed. Your care team will first consider whether saving the natural tooth is realistic and predictable. When a tooth is too fractured, decayed, loose, or infected to restore, extraction may be the healthier choice.
In selected cases, an implant can be placed at the same appointment as an extraction. This is called immediate implant placement. It is not automatically the best option for everyone. The bone walls, gum tissue, infection level, bite forces, and location of the tooth all influence the decision.
When immediate placement is not advisable, the site is allowed to heal first. A socket-preservation graft may be placed at extraction to help reduce bone shrinkage while you prepare for the next phase.
Step 4: Place the Dental Implant
Implant surgery is usually performed with local anesthetic, so the area is fully numb. Sedation options may also be available for patients with significant anxiety or more extensive treatment needs. Many people are surprised that implant placement is more comfortable than they expected.
During the procedure, the clinician gently prepares a precise space in the jawbone and places the titanium or ceramic implant post. The gum tissue is then positioned around or over the implant. Depending on your treatment plan, a healing cap may be visible above the gumline, or the implant may be covered during early healing.
For a single implant, surgery often takes about an hour or less, although the overall appointment can be longer. Full-arch treatment, multiple implants, grafting, or extractions will naturally require more time and planning.
Step 5: Heal While the Implant Bonds With Bone
The healing period is where the implant becomes part of your foundation. Through a process called osseointegration, bone gradually grows around the implant surface. This bond is what allows an implant to support chewing forces without relying on neighboring teeth.
Healing commonly takes several months, but timing varies. Bone quality, grafting, the implant location, your health, and whether a tooth was removed at the same time all matter. Smoking or vaping, uncontrolled diabetes, untreated gum disease, and poor home care can increase the risk of complications and may lengthen healing.
You will receive specific aftercare instructions, but most patients can expect mild swelling, tenderness, or bruising for several days. Cold compresses, prescribed or over-the-counter medication when appropriate, and softer foods can help. Avoid vigorous rinsing, smoking, and chewing directly on the surgical site until your clinician says it is safe.
Call your dental team if pain worsens after the first few days, swelling increases rather than improves, you develop a fever, or the implant area feels unusually loose. Early communication allows concerns to be evaluated promptly.
Step 6: Attach the Abutment and Create Your Final Tooth
Once the implant is stable, the next phase is creating the restoration you will see and use every day. In some cases, the abutment is placed during implant surgery. In others, a short follow-up procedure exposes the implant and attaches the abutment after healing.
Your dentist then takes digital scans or impressions to design a crown, bridge, or implant-supported denture that fits your bite and blends naturally with surrounding teeth. For a single-tooth implant , the crown is shaped and shaded to complement your smile. For multiple teeth or a full arch, the team also considers facial support, speech, bite balance, and how easily you can clean the restoration.
A temporary tooth may be used during part of this process, especially when appearance is a concern. However, temporary teeth are not always meant for full biting pressure. Following those limits protects the healing implant.
Step 7: Adjust, Maintain, and Protect Your Investment
When your final restoration is placed, your dentist will check how it contacts neighboring teeth and meets the opposing teeth. Small adjustments can make a meaningful difference in comfort and reduce excessive pressure on the implant.
Dental implants cannot get cavities, but the surrounding gums and bone still need consistent care. Brush twice daily, clean between teeth as recommended, and attend regular preventive visits. Your hygienist may recommend specialized brushes, floss threaders, or water flossing based on the type of restoration you have.
If you grind or clench your teeth, a night guard may help protect both your implant restoration and natural teeth. For patients replacing many teeth, routine professional maintenance is particularly valuable because it allows the team to check screws, bite forces, gum health, and the condition of the restoration before small issues become larger ones.
What Determines Your Implant Timeline?
A straightforward single-tooth case may move from consultation to final crown in several months. Cases involving extraction healing, bone grafting, sinus lifting, gum treatment, or full-mouth reconstruction can take longer. A longer timeline is not a sign that something is wrong. Often, it reflects careful planning for a result that is stable, comfortable, and designed to last.
The best next step is a consultation where you can ask direct questions: Do I need a graft? Can the tooth be removed and replaced at the same visit? What will I wear while healing? Who will perform each part of my care? Clear answers turn a complex procedure into a plan you can approach with confidence.